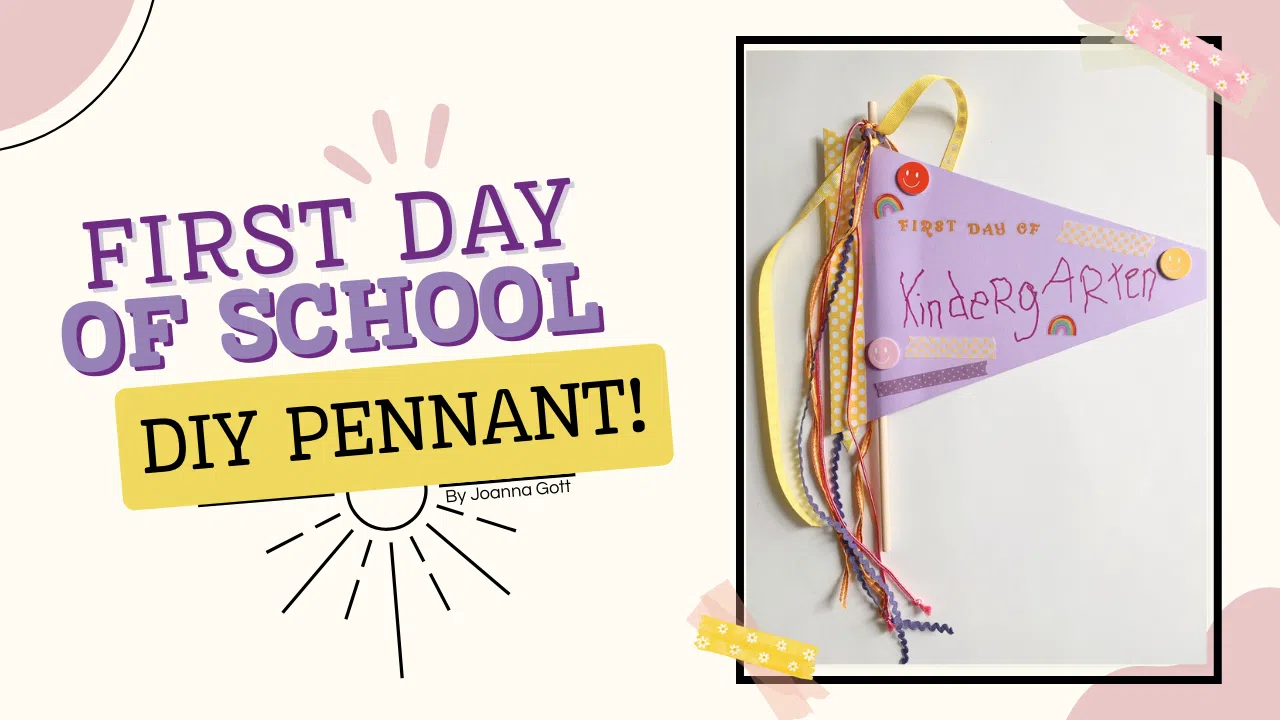
The first day of school is a big deal (this year feels extra special as my daughter Penny is starting Kindergarten) and what better way to celebrate than with a fun DIY project you can make together with your kids! This simple pennant craft uses supplies you likely already have at home—paper, markers, stickers, tape, and ribbon. It’s not just a creative activity, but also a special keepsake to mark the start of an exciting new school year. Whether you hang it in your child’s room or use it as a photo prop, this pennant is a memory in the making.
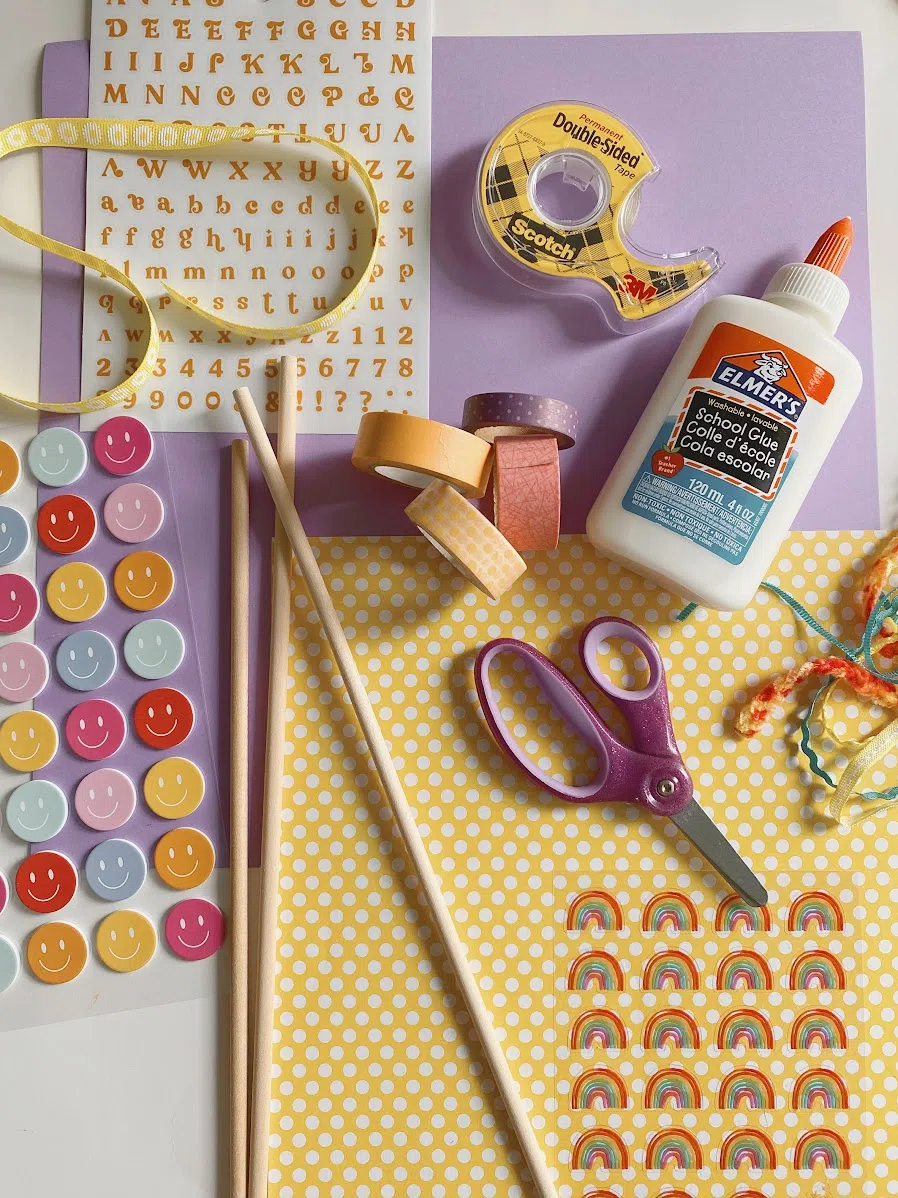
Materials You’ll Need
These are the materials I had around my house so your list might look a bit different, but the main point is to try and use what you have to avoid buying anything new.
- Cardstock sheets (assorted colors)
- Wooden dowel, popsicle stick, or straw
- Double stick tape, hot glue gun, or Elmer’s glue
- Scissors
- Letter stickers, decorative stickers, washi tape
- Pencil, marker, and ruler
- Ribbon or yarn
PC: Joanna Gott
Step-by-Step Instructions
Step 1: Choose Your Colors
Pick colors that match your school colors or your child’s favorites. For this I wanted Penny to choose the colors/theme, so she raided our craft room and picked all the supplies to use for this pennant.
PC: Joanna Gott
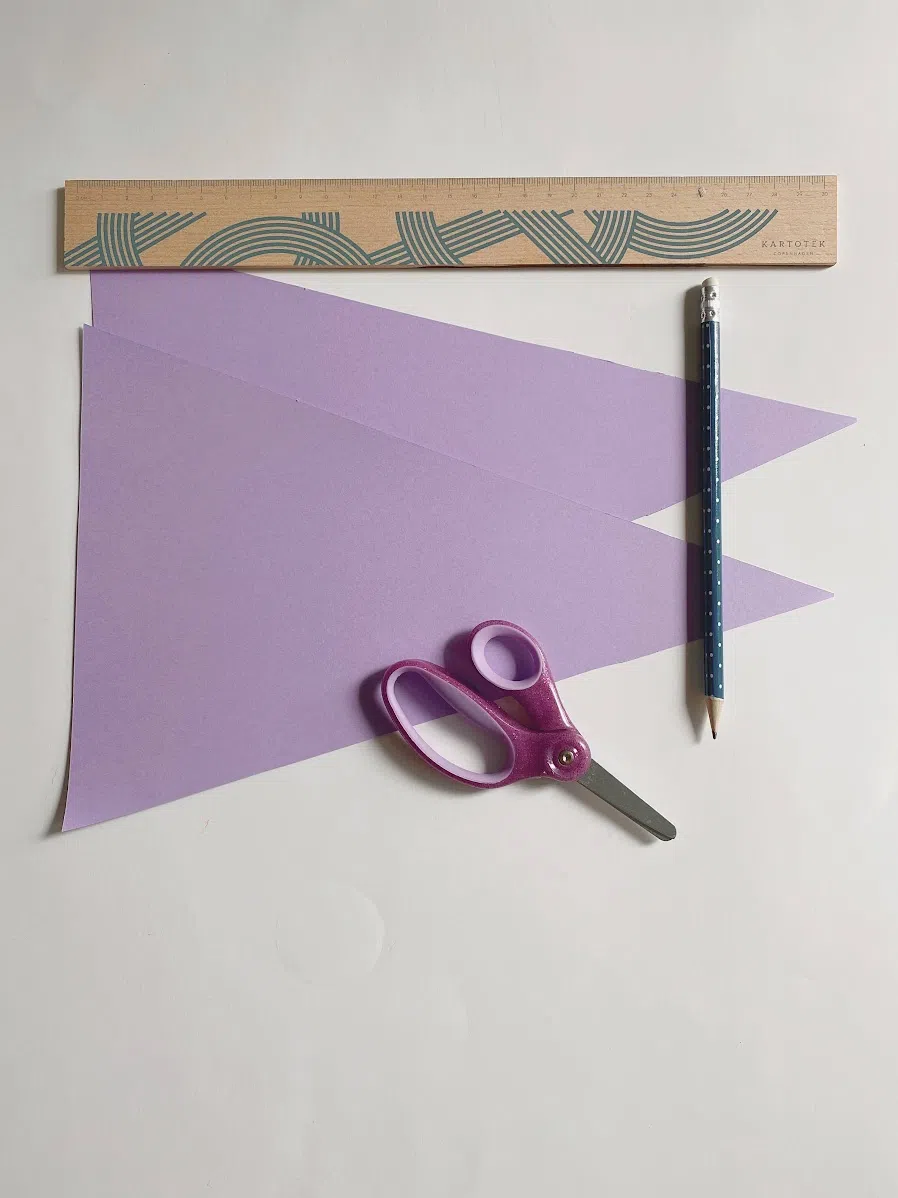
Step 2: Cut the Pennant Shape
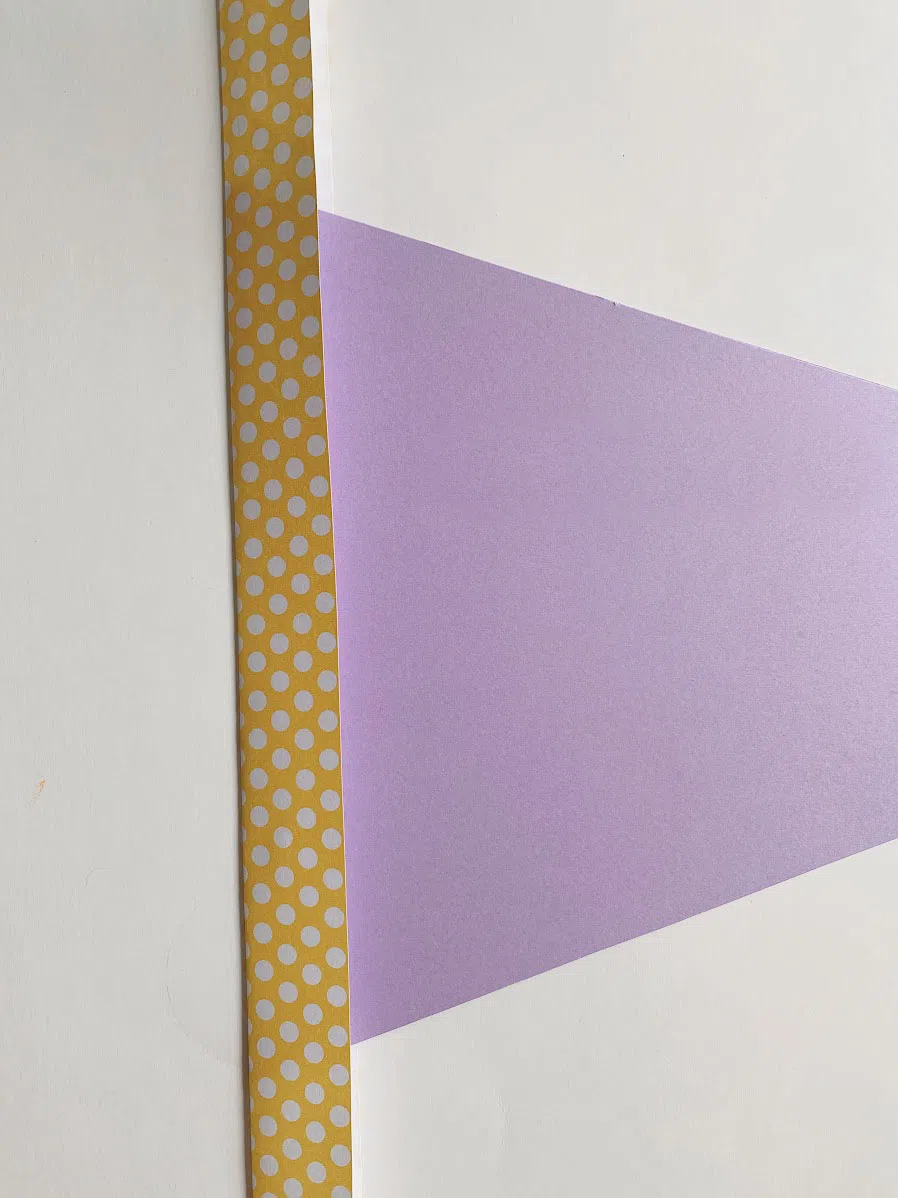
The cardstock we had was 12×12, so using a ruler and pencil I measured and cut two triangles around 10 inches long and 12 inches wide at the base. Depending on your materials available, you could do a variety of pennant shapes and sizes.
For this pennant I also ended up making it double sided as I wanted to sandwich the wooden dowel between the 2 layers, but you could a single layer and tape the handle to the backside.
If you made 2 layers, please refer to Step 2 part 2. If you did not, you can skip to step 3.
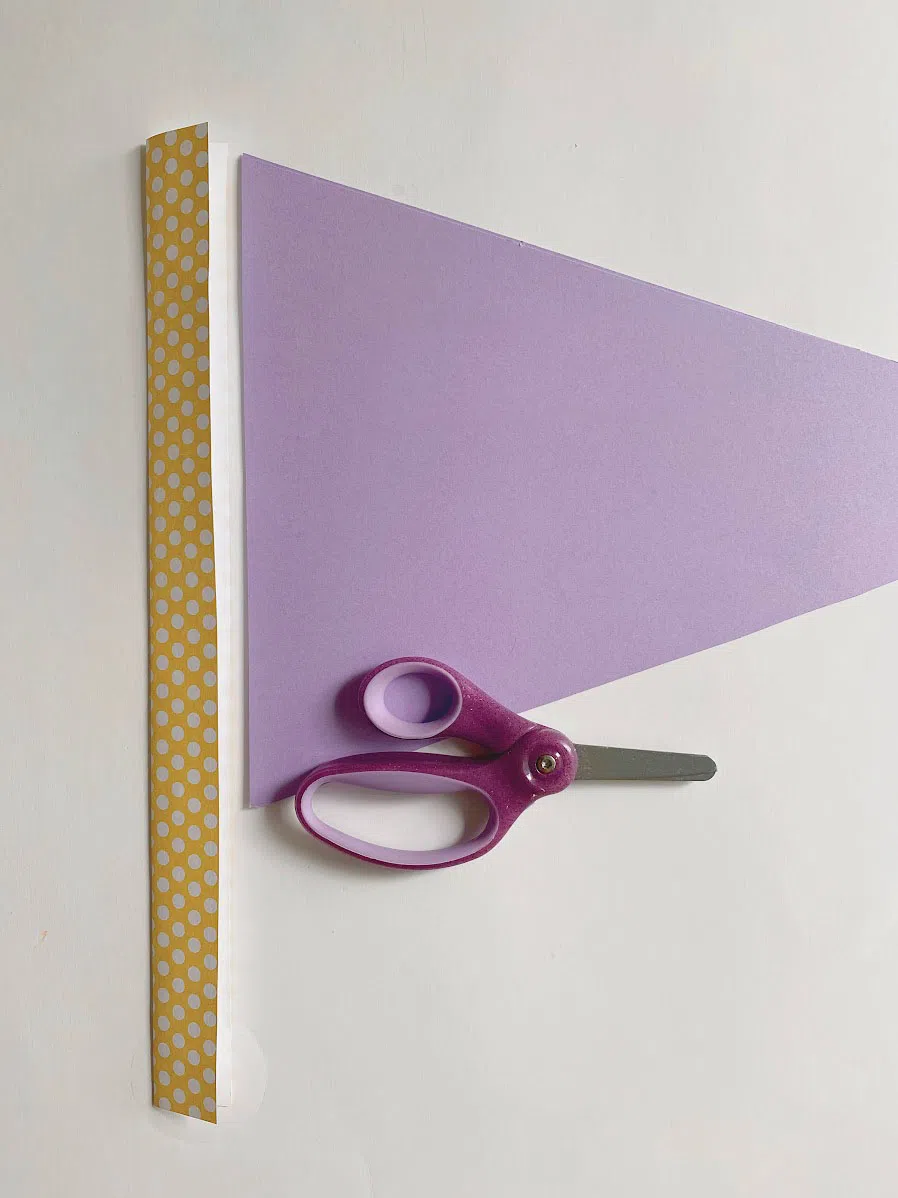
Step 2 part 2: Secure Layers Together
Using cardstock in a fun pattern or contrasting color, cut out a 2” wide strip. This strip is folded in half vertically and then sandwiched around the two wide ends of the pennant cut outs. Secure strip and wide end of pennant using double stick tape or glue. Please note you only want to tape/glue where the strip is. The rest of the pennant needs to be open so you can insert your handle of choice later on. Once the strip is secured, trim off any access cardstock from the top and bottom edge.
PC: Joanna Gott
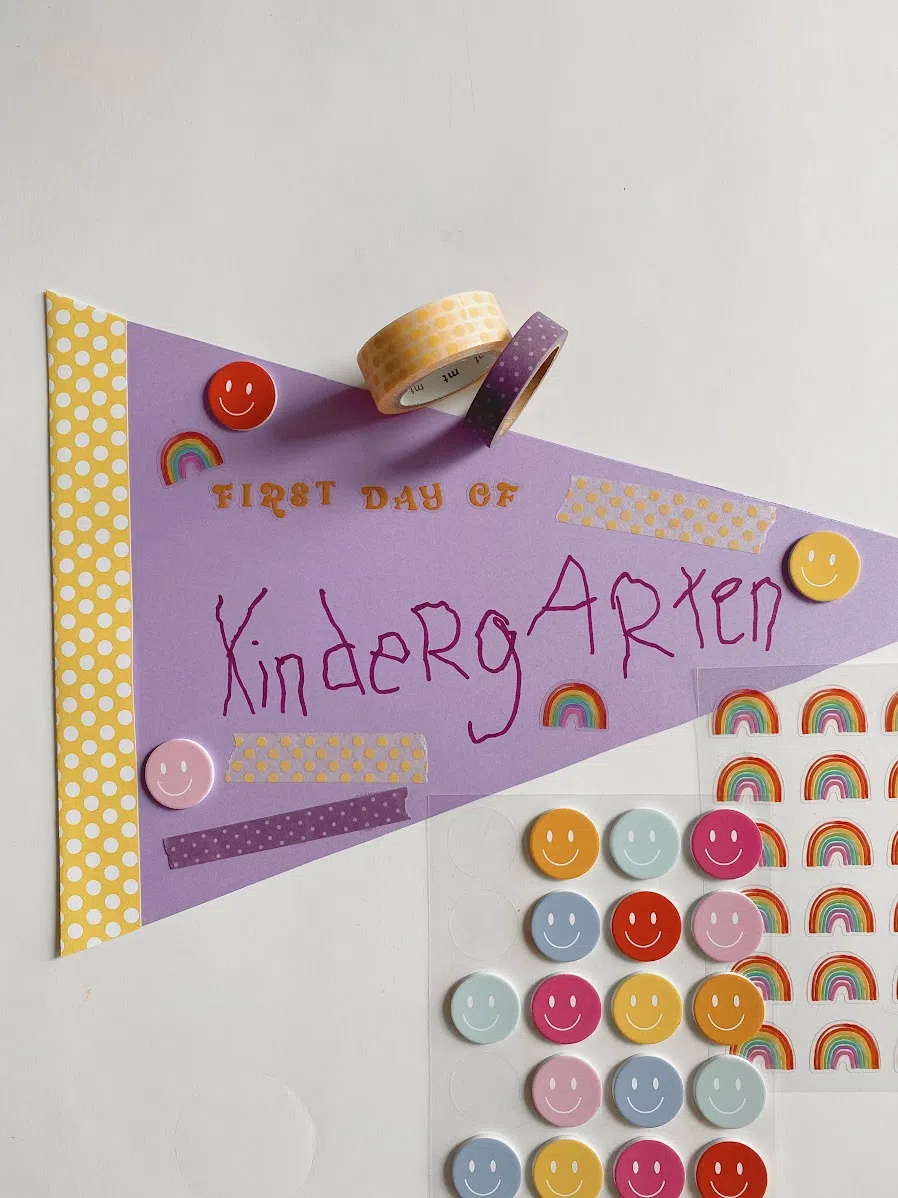
Step 3: Add the Lettering and Stickers
Using letter stickers spell out “First Day of School”, “Back to School,” or “First Day of (insert grade level)”. For a fun touch you can have your child place all the letter stickers and decorate the pennant using stickers, pom poms, washi tape, etc. I also had Penny write out the grade level to give it a special touch and to capture where she is at in her school journey.
PC: Joanna Gott
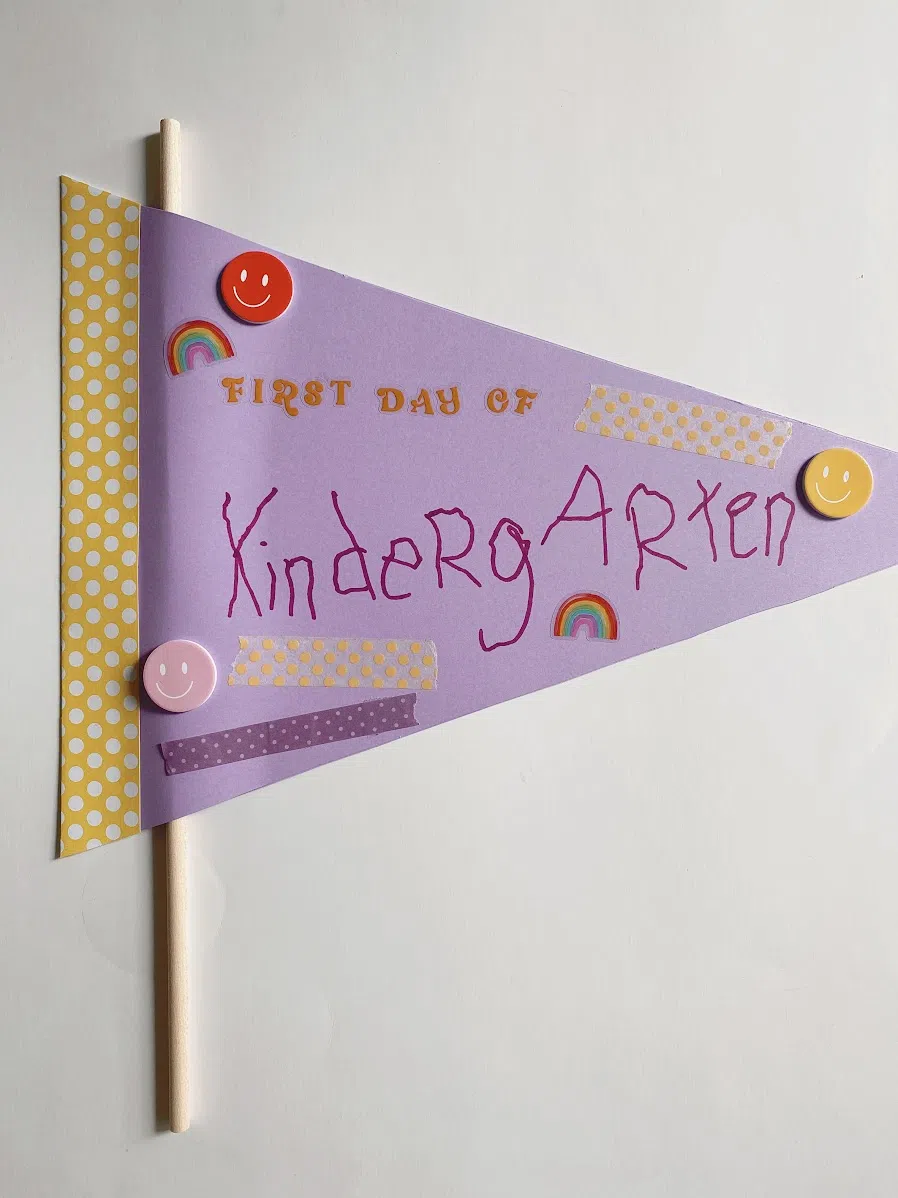
Step 4: Attach to Dowel or Straw
For single layer pennants use tape or glue to attach handle (dowel, popsicle stick, or straw) to the back side.
For the double layer pennants, insert the handle between pennant layers and secure it with tape or glue. Once the handle is secured, tape or glue the rest of the pennant layers together.
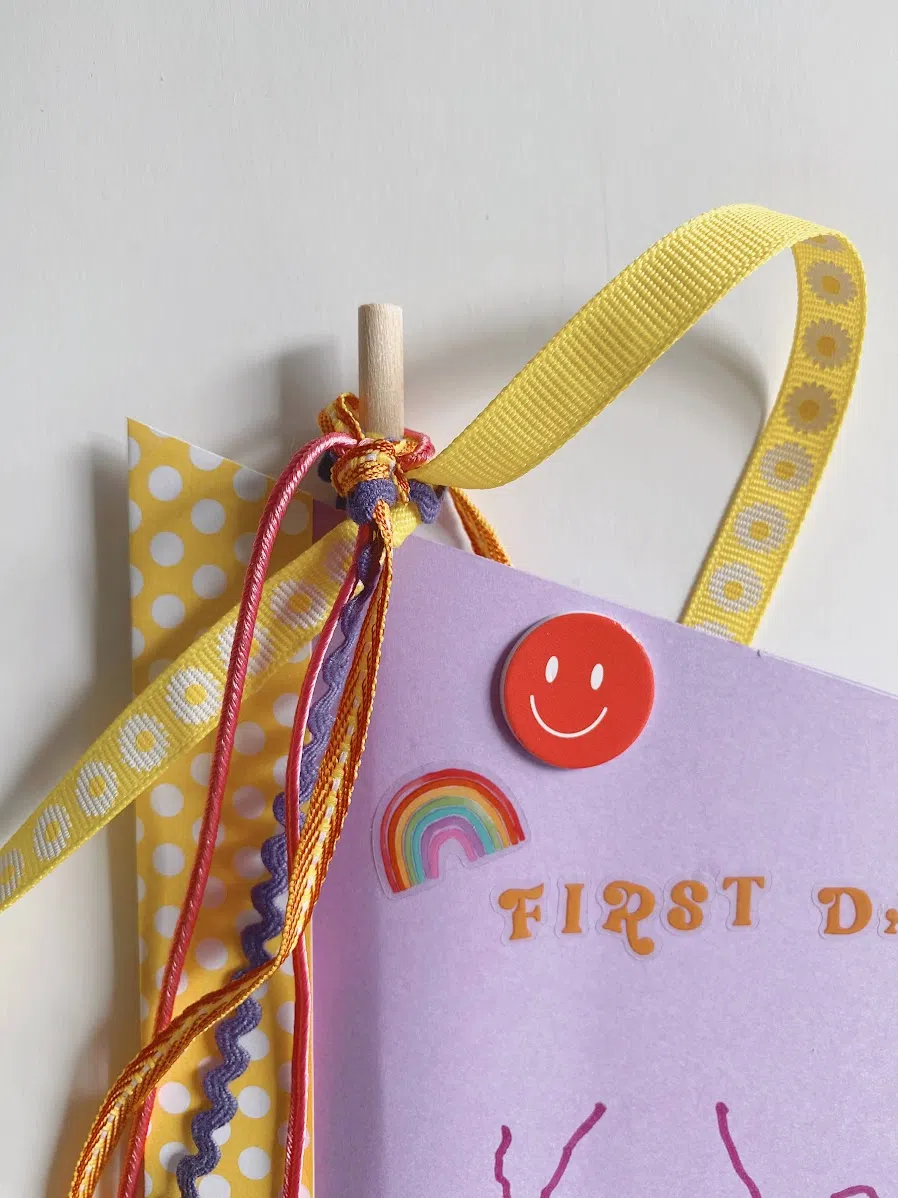
If you want to add ribbon to the handle, make sure to have 1” of the handle exposed at the top of the pennant allowing you to tie at the top. You can also tie ribbon to the bottom if you are working with a shorter handle.
PC: Joanna Gott
Step 5: Add Additional Decorative Touches
Glue or tie on ribbon, pom poms, or sequins for extra flair.
PC: Joanna Gott
Bonus Ideas
- Use the pennant as a photo prop for the first day of school pics.
- A fun option is to write your child’s name, age, school, and teacher on the back of the pennant. With this being on the back you won’t expose any of your child’s private information to the public (if you chose to share the pennant or photo publicly) and it can be a fun keepsake to collect over the coming years.
- Create a banner by stringing multiple mini pennants together.
PIN THIS!
 Read more of Joanna’s contributions to AllMomDoes here.


Comments